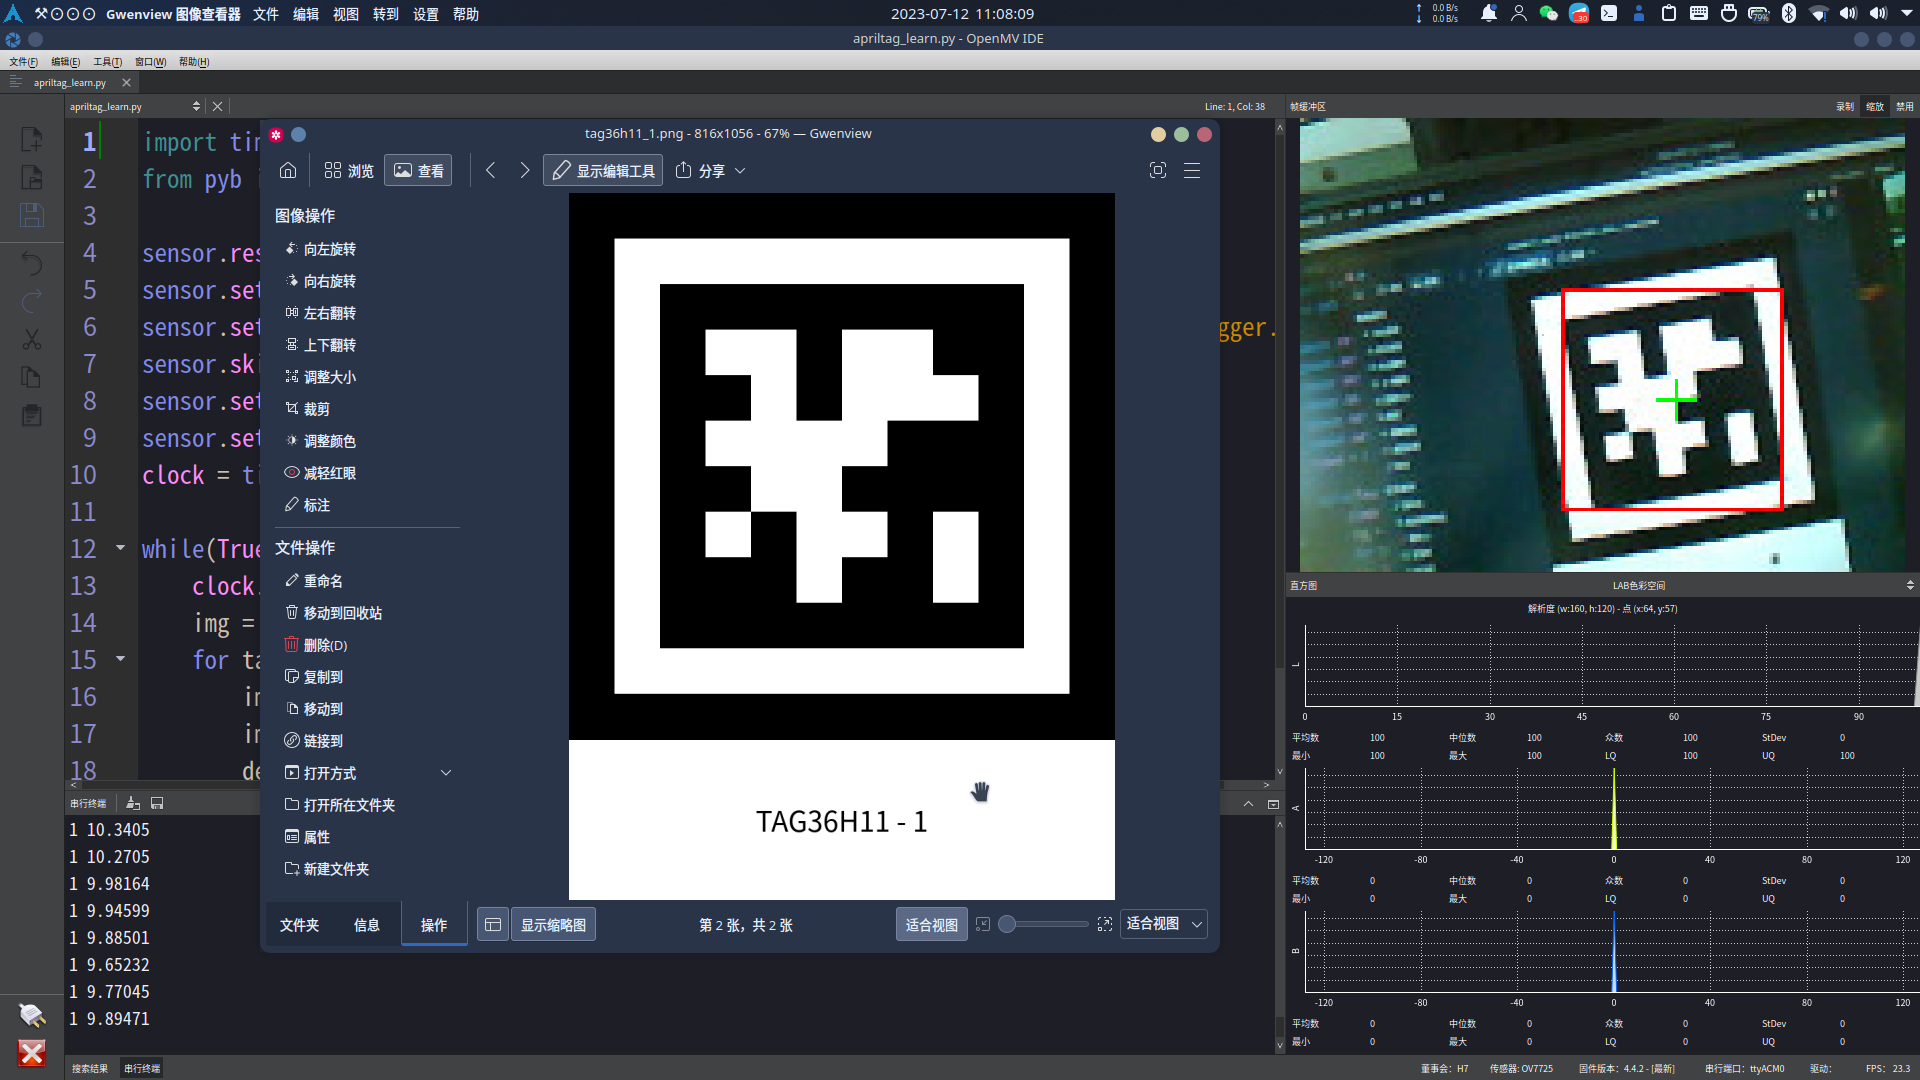
April Tag是一种视觉基准系统,可用于多种任务,包括增强现实、机器人和相机校准。可以通过普通打印机创建目标,April Tag 检测软件可以计算标签相对于相机的精确 3D 位置、方向和标识。April Tag 库是用 C 实现的,没有外部依赖项。它旨在轻松包含在其他应用程序中,并可移植到嵌入式设备。即使在手机级处理器上也可以实现实时性能。
# AprilTags Example # # This example shows the power of the OpenMV Cam to detect April Tags # on the OpenMV Cam M7. The M4 versions cannot detect April Tags.
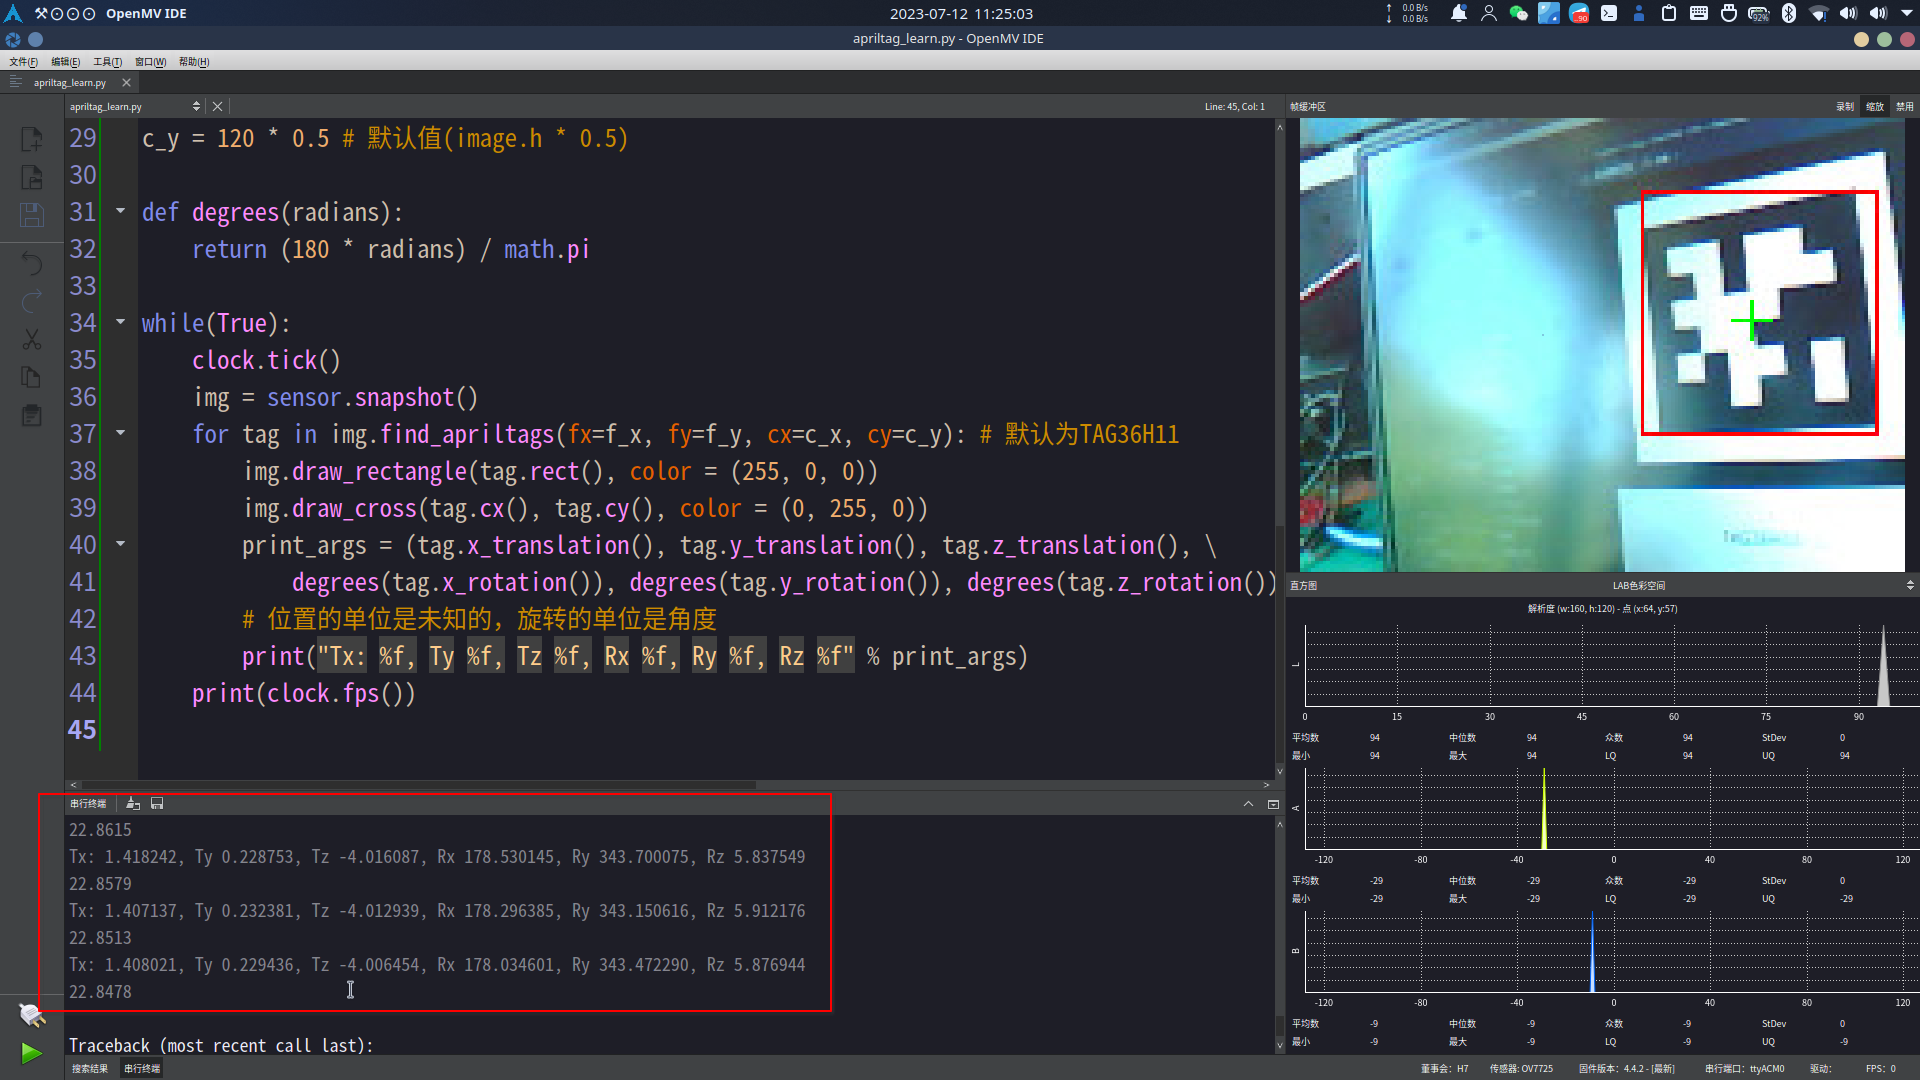
import sensor, image, time, math
sensor.reset() sensor.set_pixformat(sensor.RGB565) sensor.set_framesize(sensor.QQVGA) # we run out of memory if the resolution is much bigger... sensor.skip_frames(30) sensor.set_auto_gain(False) # must turn this off to prevent image washout... sensor.set_auto_whitebal(False) # must turn this off to prevent image washout... clock = time.clock()
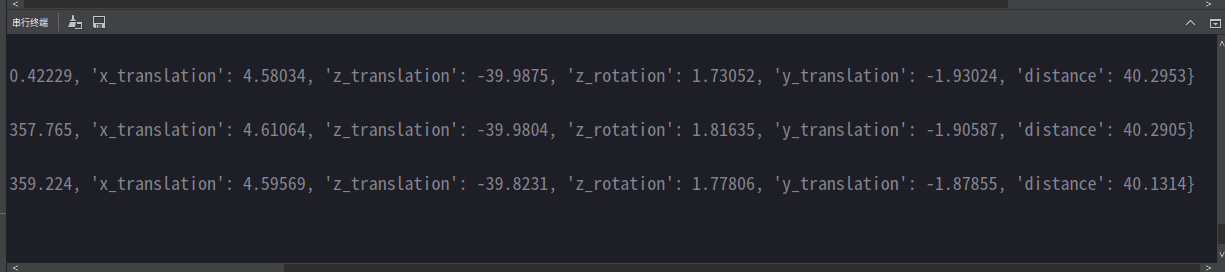
while(True): clock.tick() img = sensor.snapshot() for tag in img.find_apriltags(): # defaults to TAG36H11 without "families". img.draw_rectangle(tag.rect(), color = (255, 0, 0)) img.draw_cross(tag.cx(), tag.cy(), color = (0, 255, 0)) degress = 180 * tag.rotation() / math.pi print(tag.id(),degress)
# AprilTags Example # # This example shows the power of the OpenMV Cam to detect April Tags # on the OpenMV Cam M7. The M4 versions cannot detect April Tags.
import sensor, image, time, math
sensor.reset() sensor.set_pixformat(sensor.RGB565) sensor.set_framesize(sensor.QQVGA) # we run out of memory if the resolution is much bigger... sensor.skip_frames(30) sensor.set_auto_gain(False) # must turn this off to prevent image washout... sensor.set_auto_whitebal(False) # must turn this off to prevent image washout... clock = time.clock()